NuTone Bathroom Fan Parts
Bathroom fans play a critical role in maintaining a healthy home environment. By venting air out of your bathroom and through galvanized sheet metal ducts to an exterior vent, they help reduce moisture buildup and improve airflow. Excessive moisture can lead to mildew, mold, and even structural rot, which, if left unaddressed, can result in costly repairs. Properly installed NuTone bathroom fan parts ensure your fan operates efficiently and keeps your bathroom dry.
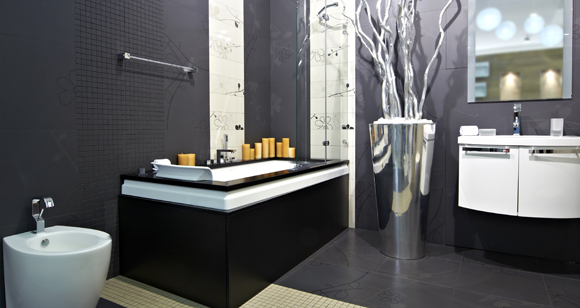
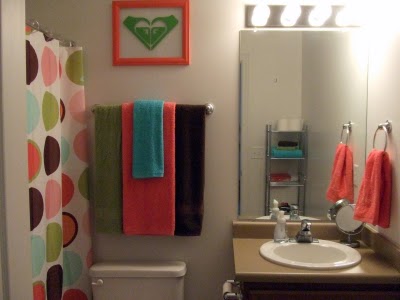
If you are looking to redesign your bathroom this is a crucial step to consider, installing a bathroom fan.

Installing NuTone Bathroom Fan Parts
NuTone bathroom fan components can often be installed in the attic above your bathroom. The compact size allows them to fit between trusses, making installation practical in most homes.
Tools and Materials Needed
Before beginning the installation, gather the following:
-
- Screws
- Pliers
- Screw gun
- 6-inch-round ductwork
- Duct elbow
- Tin snips
- Pipe crimper
- Metal tape
- Wire nuts
- Electrical cable
 665RP NuTone Bath Fan Parts
Step-by-Step Installation Guide
They are easier to install then what you think. Just follow this step-by-step guides.
Positioning the Fan Housing
- Take the fan housing into the attic.
- Use pliers to bend the tabs on the sides of the housing.
- Lower the housing between two joists, ensuring the tabs lie flat against the bottom of the joists.
- Secure the housing by drilling four screws—one into each corner’s lowest hole.
Connecting the Duct
- Grasp the duct connector tightly and align it with the fan housing.
- Ensure the top of the duct connector is flush with the housing.
- Hold the damper closed and push the duct connector onto the housing until it snaps into place.
Installing Ductwork
- Run 6-inch-round ductwork from the damper to the exterior vent cap.
- Connect each section by sliding the non-crimped end over the crimped end by 1½ inches.
- Use tin snips to cut the duct to the required length for shorter sections.
- Crimp one end of each section using a pipe crimper to secure connections.
- Seal all connections with metal tape to prevent air leaks.
Wiring the Fan
- Wire the power cable to the fan housing.
- Connect the black wire from the cable to the black wire from the housing using a wire nut.
- Connect the white wires together with a wire nut.
- Connect all green ground wires with a wire nut.
- Run the cable across the attic floor and down the wall to the bathroom switch.
- Connect the black wire from the breaker box to the black wire from the power cable at the switch.
- Connect the white wire from the breaker box to the white wire from the power cable.
- Connect green ground wires together.
- Push all wiring inside the electrical box and secure the on/off switch to the wall.
Attaching the Grille
- The grille is the visible portion of the fan below the ceiling and allows airflow into the fan.
- Pinch each spring and place it into the hanging slots on the mount housing.
- Push the grille up against the ceiling until it sits flush as the springs release.
Benefits of a Properly Installed Bathroom Fan
A correctly installed NuTone bathroom fan reduces moisture accumulation, prevents mold growth, and increases air circulation. Regular maintenance ensures your bathroom remains a healthy, dry, and comfortable space while protecting your home from expensive damage.