
LED Rope Light Home Depot
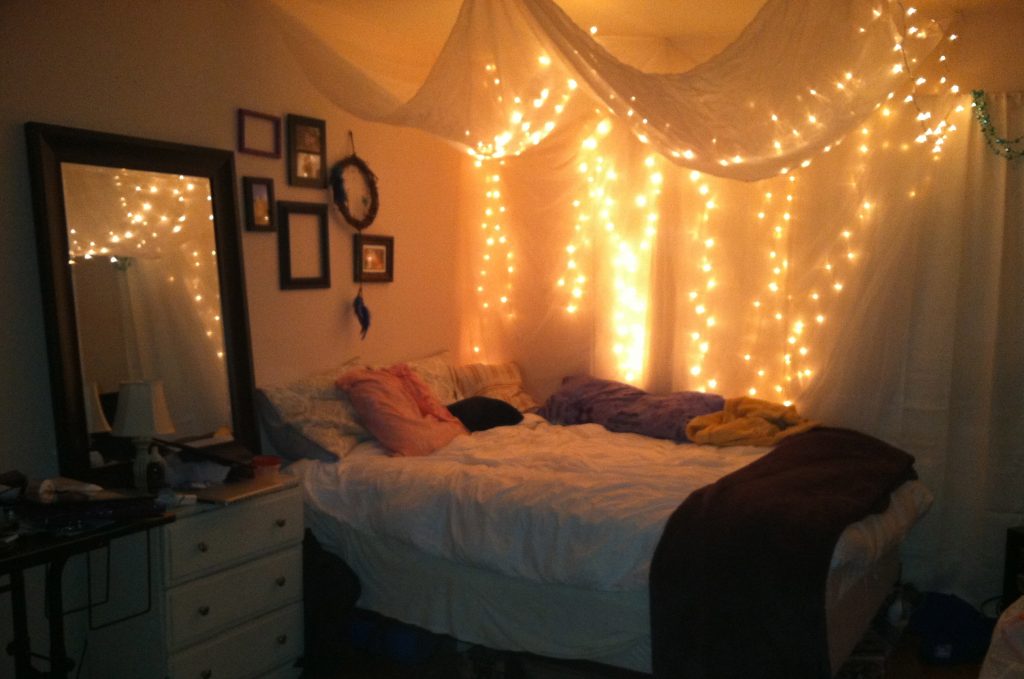
In almost any household space, you can instantly elevate the ambiance by incorporating a LED rope light.
Thanks to its slim design and flexibility, this versatile lighting option can be tucked behind artwork, cabinetry, shelving, or other focal points to create dramatic backlighting effects. Its ability to highlight architectural details and add a warm, modern glow is one reason LED rope lighting has quickly grown in popularity among homeowners and designers alike.
Whats beyond the appeal
Beyond its aesthetic appeal, LED rope lighting offers clear practical benefits. Unlike traditional incandescent bulbs, LEDs consume far less energy, helping reduce both electricity bills and environmental impact.
In fact, as highlighted in Michael Bloch’s Green Living Tips: “LED—Lighting the Way”. LED lights are even more efficient than compact fluorescent bulbs, often lasting up to ten times longer while using about half the electricity. This makes them not only a stylish choice but also a smart, eco-friendly investment.
Even better, installing LED rope lighting is surprisingly simple. With just a few basic tools and a little know-how, most homeowners can set up their own custom lighting designs in no time.
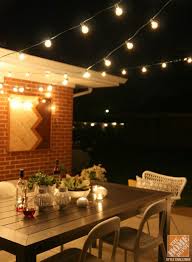
Whether you want subtle accent lighting in the living room, soft under-cabinet illumination in the kitchen, or a glowing perimeter around a ceiling or outdoor deck, LED rope lighting makes it possible to achieve professional-looking results without complicated installation.
How to install a LED rope light
Its easy if you just follow the instructions below:
What You’ll Need
- Tape measure
- Nail-in cable clips
- Hammer
- Electrical tape or textured tape
- Paint and paintbrush
Step-by-Step Instructions
Measure your space first.
- Use a tape measure to determine the total length needed.
- Purchase one continuous LED rope light from Home Depot if possible, as it’s easier to work with than several shorter sections.
Check rope thickness and clip size.
- Make sure your cable clips are wide enough to hold the LED rope securely before starting installation.
Install the cable clips.
- Nail clips halfway into the surface at even intervals.
- Leave a little space in each clip to slide the LED rope through, unless your clips are designed to hold the rope even when fully nailed in.
- For a tighter look, place clips about 8 inches apart.
- For a looser, hanging effect, space clips farther apart.
Hang the LED rope light.
- Carefully slide the rope into the clips.
- Take care when hammering nearby to avoid damaging the rope.
Control light exposure.
- Use electrical tape to cover any sections of the rope you don’t want illuminated.
- If routing the rope behind artwork or up a wall, this step helps achieve precise backlighting.
- For a seamless look, use textured tape and paint over it to match the wall.
Power it up.
- Plug in your LED rope light.
- Some models turn on automatically, while others feature on/off switches for added safety and convenience.
With just a few simple tools and careful planning, installing LED rope lighting can be a quick and rewarding project. Not only does it add style and ambiance to any room, but it also offers an energy-efficient and long-lasting lighting solution. Once installed, you’ll enjoy the flexibility of customizing the look.
Whether you prefer a sleek, tight fit or a relaxed, hanging effect. While creating a warm and inviting atmosphere in your home.


